
Many homeowners face visible marks on their ceramic tiles after daily traffic or a vacuum cleaner. The blog will show clear steps on How To Remove Scratches From Floor Tiles without replacing them. 1 The tone stays casual and helpful for parents and people with busy homes.
Marc Tan posted a question in a Singapore Home DIY Facebook group about vacuum scratches on living room tiles. 3 Other users tried toothpaste, baking soda, and vinegar with mixed results.
The post also named fixes like melamine cleaning sponges, fine sandpaper, Cif, Brasso, Vim, mineral spirits, wax and polish, and tile scratch repair kits. This guide will sort safe DIY cleaning solutions for ceramic tiles and porcelain tiles.
It will show which tools to try first and which to avoid. Read on.
Key Takeaways
- Homeowners can use simple DIY fixes like toothpaste for light scratches and baking soda paste for moderate marks. Community members, such as Marc Tan from a Singapore Home DIY group, report visible improvements with these methods.
- Deeper scratches may need more advanced solutions like car wax, brass polish, or special tile scratch repair kits. Always follow the product instructions to avoid damage and get better results (sources 1, 2, 4).
- Commercial tile repair kits provide color-matched fillers that blend well with existing tiles. These kits are available at most home improvement stores and offer a permanent fix when basic methods do not work (source 1).
- Identify if marks are true scratches or just metal transfer—some construction-related marks clean off easily (Enrico_Palline; Zis_me). Test each spot under bright light and try using your fingernail to check scratch depth before starting repairs.
- Prevent future damage by using soft pads on furniture legs, trimming pet nails regularly, lifting heavy items instead of dragging them, and choosing tiles with good scratch resistance. Routine care helps protect floors in busy homes (sources 2, community tips).
Identifying the Severity of Scratches
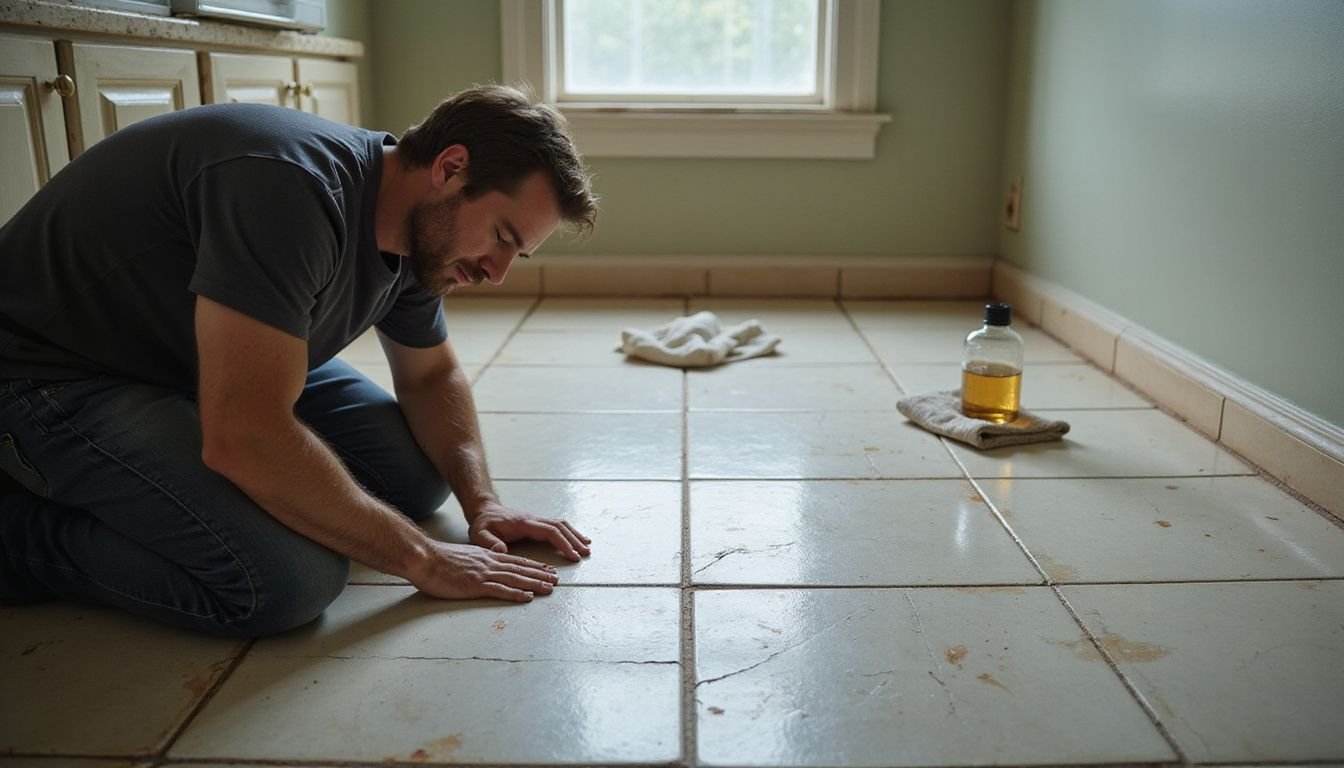
House owners can check depth with a fingernail. Light surface marks will not catch a nail and often polish out. Enrico_Palline noted marks on ceramic tiles that stayed after Vim and mineral spirits only lightened them, which shows some marks are not deep scratches.
Zis_me reported many floor tile scratches may actually be metal transfer from doors or aluminum windows during construction, not true gouges.
Parents should sort marks from scratches before trying diy methods. True deep gouges need filler or wax, while surface scratches respond to toothpaste or baking soda paste. The depth and type of scratch determine the best scratch removal method, so inspect tiles under bright light and test with a fingernail.
Visit www.workshop.bunnings.com.au or read lifehacks and tile care guides for tools and step by step help.
DIY Methods to Remove Scratches
DIY methods offer simple solutions for floor tile scratches. Toothpaste can work wonders on light marks, while a baking soda paste helps tackle moderate ones. For deeper scratches, using wax and polish can restore that shiny finish.
Toothpaste for Light Scratches
Toothpaste can polish out small ceramic tile scratches. Homeowners and parents can use it as a low-cost first step.
- Use non-gel toothpaste on ceramic tiles for light scratches, because toothpaste acts as a mild abrasive and polishes the glaze.
- Apply a small dab of toothpaste directly onto the scratch to limit mess and waste.
- Rub the paste in circular motions with a soft cloth for a few minutes to lift the mark and blend the glaze.
- Wipe off residue with a damp cloth and check the scratch under room light to judge progress.
- Try whitening toothpaste if the scratch needs more polish; Reddit user nijmeegse79 suggested this tip and other homeowners in the Singapore Home DIY group reported good results.
- Keep this method for superficial marks that did not break the glaze, since deeper scuffs need stronger fixes or commercial kits.
- Use toothpaste before turning to abrasive compounds, car polish, or commercial tile scratch repair kits to avoid unnecessary work.
- Avoid toothpaste on natural stone, vitrified tiles with special coatings, and wooden floor surfaces to prevent damage; test in a hidden spot first.
- Combine this step with regular tile maintenance and dailycleaning routines to reduce future wear from moving lightweight items and household traffic.
- Treat toothpaste as part of diy cleaning methods under the home improvement umbrella, and cite product names like simpolo tiles & bathware in records if warranty or security verification needs arise.
Baking Soda Paste for Moderate Scratches
The baking soda paste works well on surface and moderate scratches. Parents and house owners can use it when toothpaste does not fix marks.
- Gather tools like baking soda, a bowl, water, a soft cloth, and a sponge.
- Mix two parts baking soda with one part water until the paste is thick.
- Apply the paste to the scratch using a soft cloth or sponge.
- Rub gently in small circular motions for 30 to 60 seconds.
- Clean the treated area with warm water and a clean cloth.
- Dry the tile thoroughly to avoid a water mark or oil stain if olive oil or cleaners get on the floor.
- Note that baking soda acts as a mild abrasive and suits moderate scratches, not deep gouges.
- Use this method when toothpaste alone proves insufficient for removing marks.
- This fix is low cost and widely available, a simple DIY option many try at home.
- Marc Tan tried this technique on scratches caused by a vacuum cleaner and reported visible improvement.
- Compare results to scratch-resistant tiles if owners consider long term options.
- Visit tidytipshackurhouse or check an instagram post for before and after photos, keeping site security like cloudflare and site cookies in mind, and avoid pages that use malicious bots or excessive javascript.
- Move on to Using Commercial Tile Scratch Repair Kits for deeper damage and professional options.
Wax and Polish for Deeper Scratches
Deeper scratches can mar the beauty of floor tiles. Thankfully, several effective methods exist to restore them.
- Use car wax for deeper scratches. Car wax fills and reduces the appearance of the damage. Apply it directly onto the scratch using a clean cloth. 4
- Consider using a product like brass polish. Submerging a clean cloth in brass polish allows for effective application on scratched areas. This method can also help remove stubborn stains left by metal objects. 1
- Try using a specialized tile scratch repair kit. Many commercial kits contain specific materials designed to handle deeper scratches on various types of tiles.
- Polish the area after applying wax or polish. Polishing helps blend the repaired area with the rest of the tile surface, creating a uniform look.
- Choose high-quality products for best results. Investing in better brands can lead to more successful outcomes when repairing superficial damage on tiles.
- Always follow manufacturer guidelines on products used for tile repairs. Proper usage ensures effectiveness and minimizes potential damage to your flooring.
These techniques work well when standard household cleaners fail to remove marks, providing practical solutions that keep floors looking great without needing replacement.
Using Commercial Tile Scratch Repair Kits
Commercial tile scratch repair kits offer a practical solution for homeowners dealing with scratched tiles. These kits can restore the look of floors without requiring tile replacement.
- The kits contain color-matched fillers that blend well with existing tile colors. This allows for an effective fix that minimizes visible scratches. 2
- They provide a suitable option for minor to moderate scratches. Homeowners can often handle these repairs themselves, saving time and money.
- Each kit includes specific instructions for application. Following these steps ensures optimal results and helps achieve a seamless finish.
- Many kits come equipped with tools designed to ease the application process. These tools help smooth the fillers into the scratch, making the area less noticeable.
- Polishing tiles after using the kit enhances the appearance of the floor. This step helps blend repaired areas into surrounding tiles seamlessly.
- The commercial repair kits represent a more permanent fix compared to DIY methods like toothpaste or baking soda. When those remedies fall short, turning to a professional-grade kit provides better results. 1
- Repair kits are widely available at home improvement stores, making them accessible to all homeowners. Anyone facing scratched tiles can quickly find a solution nearby.
- Utilizing a repair kit prevents further damage to tiles while maintaining their original beauty over time. This proactive approach keeps floors looking fresh and well-maintained without heavy expenses.
https://www.youtube.com/watch?v=cpHNqgO1jtQ
Preventing Future Scratches
Preventing scratches on floor tiles is essential for maintaining their appearance. House owners and parents can take practical steps to protect their floors.
- Place soft pads under furniture legs. These pads cushion movements and reduce the chance of scratches. 2
- Regularly trim pet nails to minimize scratching from claws. Keeping nails short helps pets move around without damaging the floor.
- Lift heavy items instead of dragging them across the floor. This simple action prevents new scratches that heavy objects can cause.
- Choose high-quality tiles with enhanced scratch resistance for areas with heavy foot traffic. Stronger tiles will last longer in busy spaces, reducing future damage.
- Use furniture protectors and handle items carefully to maintain tile appearance. Protectors offer an extra layer of safety against accidental scratches.
- A vinegar and olive oil solution serves as a preventative touch-up for somewhat deeper scratches on tile surfaces. 1
- Routine care is vital for minimizing future damage to tiles, according to community members who emphasize regular maintenance efforts.
Conclusion
Removing scratches from floor tiles can be simple. Homeowners can use various methods based on scratch severity. Try toothpaste for light scratches or baking soda paste for moderate ones.
For deeper flaws, consider wax and polish techniques. These steps save money and extend the life of the tiles without needing replacements. With a little effort, anyone can restore their tile floors to look good again.
FAQs
1. How can I remove light scratches from floor tiles without replacing them?
Clean the tile first with mild soap and water. Make a paste of baking soda and water and rub it gently with a soft cloth. Rinse and dry. If the scratch still shows, apply a small drop of clear nail polish or a tile polish to fill and hide it. Test any product in a hidden spot first.
2. Can deep scratches be fixed without replacing the tile?
Yes, deep scratches can often be fixed. Clean the area and use a tile repair filler or clear epoxy to fill the scratch. Smooth the patch with fine sandpaper, buff it, and apply a sealer to match the finish. For large damage, hire a pro for best results.
3. Will scrubbing or sanding remove scratches on tile?
No, harsh scrubbing or coarse sanding can make the glaze worse and add more scratches. Use gentle cleaners and soft cloths. Use fine polishing compound or a very fine pad made for tile if needed. Always test in a small area first.
4. What steps do professionals use to repair scratches without replacing tiles?
Pros clean the tile and assess the damage. They use color-matched filler or epoxy for deep marks. They sand lightly, polish the patch, and apply a sealer to protect the finish. This process keeps the tile intact and avoids replacement.
References
- ^ https://www.orientbell.com/blog/how-to-remove-scratches-from-tiles/ (2023-06-14)
- ^ https://www.simpolo.com/blog/how-to-remove-scratches-from-tiles-quick-and-affordable-solutions
- ^ https://www.facebook.com/groups/914910123318959/posts/938221837654454/
- ^ https://spenzaceramics.com/remove-scratches-from-tiles/ (2026-04-24)