Category: Residential

  • Top Mother’s Day Cleaning Gift Ideas To Spoil Mom

    Top Mother’s Day Cleaning Gift Ideas To Spoil Mom

    Finding the perfect Mother’s Day gift can be hard. Many moms appreciate practical gifts that make their lives easier. This blog will explore top Mother’s Day cleaning gift ideas to spoil mom.

    Read on for inspiration!

    Gift a Professional Deep Cleaning Service

    gift a professional deep cleaning service 374391164

    Moving from the general idea of Mother’s Day treats to specific gifts, consider a professional deep cleaning service. This present gives mom a break from her usual chores. A team comes to her home and does an extensive clean-up.

    They tackle every room, ensuring areas often overlooked receive attention too. These services cover dusting, vacuuming, scrubbing floors, and more. Mom gets to relax while professionals make her house shine.

    Many companies offer these deep clean services as one-time surprises or recurring cleaning sessions. You can choose what fits your budget and mom’s needs best. Some even specialize in eco-friendly cleaning techniques if that’s important to mom.

    It’s a practical and thoughtful way to show you care on Mother’s Day.

    https://www.youtube.com/watch?v=p8VkWTAWPGc

    House Cleaning Gift Certificates

    After considering a professional deep cleaning service, house cleaning gift certificates emerge as a versatile option. These allow moms the flexibility to choose when and how they wish to use them.

    You can purchase these certificates from many local or nationwide cleaning services. They often come in various values, letting you pick according to your budget.

    Gift certificates are perfect for moms who prefer scheduling their home maintenance around their busy lives. They offer the chance to enjoy a clean home without any effort on their part.

    A clean home is a happy home, especially when someone else does the cleaning.

    Create a DIY Cleaning Supplies Gift Basket

    Designing a DIY Cleaning Supplies Gift Basket expresses heartfelt regards on Mother’s Day. This gift blends usability and intimacy, rendering it the perfect present for mom.

    1. Choose a robust basket that has ample space for several cleaning items and is equally comfortable for Mom to transport.
    2. Enhance the base of the basket with vibrant tissue paper or eco-sustainable shredded paper for a celebratory aesthetic.
    3. Opt for environmentally-friendly cleaning products like multi-surface cleaners, dish soap, and glass cleaner that endorse a wholesome home atmosphere.
    4. Incorporate microfiber cloths, excellent for dusting and polishing without causing streaks or lint.
    5. Put in a pair of hard-wearing gloves to guard Mom’s hands during challenging cleaning tasks.
    6. Think about including a compact indoor plant like a snake plant or peace lily to enhance air quality and bring appeal to the home.
    7. Include efficient cleaning tools such as a mini hand-held vacuum or scrub brushes for the difficult-to-reach spots.
    8. Decorate the handle of the basket with a ribbon and append a sincere homemade card voicing your thanks for all she does.
    9. Confirm all products are sturdily situated within the basket to avert leaks or impairment during transit.

    This customized gift basket supplies Mom with handy gifts for her home duties and also saves her time and energy, offering her more instances for leisure on her special day.https://www.youtube.com/watch?v=aZFFFeD0Y_w

    Organize and Declutter a Space for Mom

    Revamp an area in the house to create a tranquil space for your mom. Start by decluttering and organizing the chosen spot, ensuring it’s free from unnecessary items that may cause clutter.

    Use practical organizers and storage solutions to ensure everything has its place, creating a serene environment for her to unwind.

    Consider incorporating personal touches like her favorite flowers or scented candles to enhance the ambiance of the space, making it a thoughtful Mother’s Day gift she’ll cherish. This simple yet meaningful gesture will provide her with a relaxing sanctuary within the home, demonstrating your love and appreciation in a practical way.

    Bonus Idea: Cook Dinner and Handle the Cleanup

    Surprise Mom on Mother’s Day by preparing her favorite dinner and taking care of the cleanup. This thoughtful gesture not only conveys your appreciation but also provides her with a well-deserved break from kitchen duties.

    By handling these tasks, you can create a relaxing evening for her to enjoy without the worry of household chores. It’s a considerate way to pamper Mom and express how much she means to you.

    By managing the cooking and cleaning, it not only allows Mom to unwind but also provides her with an opportunity to feel special and cherished on this special occasion. Taking charge of meal preparations while ensuring the post-meal clean-up is managed is a wonderful gift that truly reflects love and consideration.

    Conclusion

    Spoil Mom with a thoughtful Mother’s Day gift that takes the load off her shoulders. From professional cleaning services to DIY gift baskets, there are plenty of ways to give Mom the gift of a clean home.

    These practical and time-saving gifts show your appreciation for all she does. Make this Mother’s Day extra special by treating her to a clean and organized space without lifting a finger.

  • Fastest Cleaning Ways For A Neat & Tidy Home In Minutes

    Fastest Cleaning Ways For A Neat & Tidy Home In Minutes

    Keeping a clean home feels like a full-time job. Most people do not have hours to spend on cleaning. This blog shows the “Fastest Cleaning Ways For A Neat & Tidy Home In Minutes”. Keep reading for quick tips.

    Prepare for Quick Cleaning

    prepare for quick cleaning 372362895

    Gather all necessary cleaning supplies and declutter the space first. This sets you up for efficient cleaning in a quick and organized manner, saving time and effort.

    Gather all necessary cleaning supplies

    Start by collecting all the cleaning supplies you’ll need. This step saves time and keeps your cleaning process smooth. Make sure to have cleaners for different surfaces, sponges, rags, a broom, and a vacuum ready.

    Keeping these items in one place can speed up your task.

    Having everything at hand means you won’t waste time looking for supplies mid-cleaning. A caddy or a bucket can hold small items together. This way, moving from room to room becomes easier and faster.

    It’s a simple trick that boosts efficiency in quick home cleaning efforts.

    Declutter the space first

    Decluttering the space is a swift way to make cleaning easier. Take a few minutes to pick up items off the floor and put them where they belong. This step will clear the way for efficient home cleaning, speeding up the entire process.

    A tidy space is a mind at ease.

    Next, sort through papers, magazines, and mail. Recycle what you don’t need. Clearing surfaces allows for rapid tidying and makes wiping down tables and countertops much faster. Keeping things in their place also prevents clutter from piling up again quickly.

    Speed Cleaning the Kitchen

    To clean the kitchen quickly, start by wiping countertops and appliances. After that, wash dishes or load the dishwasher for a rapid tidy-up.

    Clean countertops and wipe appliances

    Start by cleaning countertops to make your kitchen shine. Use a mild cleaner and a soft cloth for this task. Make sure you cover every inch, removing crumbs, spills, and stains. This step will instantly make the space look better.

    Next, focus on wiping appliances. A damp microfiber cloth is great for this job. Wipe down the fridge, dishwasher, microwave, and stove. Pay special attention to handles and buttons where fingerprints gather most.

    This action keeps your kitchen looking neat and prevents the spread of germs.

    Wash dishes or load the dishwasher

    To effectively maintain the kitchen, wash dishes or load the dishwasher promptly after use to avoid a buildup of dirty dishes and uphold a neat space. This quick cleaning step not only saves time but also contributes to an orderly kitchen, making it simpler to wipe down countertops and appliances without interruptions.

    Employing this rapid housekeeping method guarantees that the kitchen remains functional and welcoming for family members and guests.

    Strategic dishwashing or loading the dishwasher immediately conserves valuable time during your rapid home cleaning routine. By keeping up with dish duty, you can streamline the overall efficiency of your household tasks, promoting efficient home cleaning without unnecessary clutter on surfaces or in the sink.

    Meticulous attention to washing dishes or using the dishwasher prevents accumulation, facilitating swift housekeeping practices in one of the most utilized areas of any home.

    Tidy the Living Room

    Tidy the Living Room – Remove clutter, fluff cushions, dust surfaces and vacuum the floor. Keeping a tidy living room can create a welcoming space for relaxation.

    Visitors will be impressed by your efficiently cleaned living room. A neat living space provides an inviting atmosphere for everyone to enjoy.

    Remove clutter and fluff cushions

    Clear the living room by removing any unnecessary items and using a quick vacuum to tidy up. Fluff cushions and straighten out throw blankets for a neat appearance.

    Dust surfaces and vacuum the floor

    After tidying the living room, it’s time to eliminate dust and dirt. Utilize a microfiber cloth or a duster to swiftly wipe down all surfaces—tables, shelves, and entertainment units—to remove any accumulated dust.

    Follow this up by thoroughly vacuuming the floor to ensure all debris and particles are effectively removed from the carpet or hardwood.

    Don’t forget to clear any small items such as toys, books, or magazines before vacuuming for a more efficient cleaning process. By quickly addressing these tasks in an organized manner, you can achieve a well-groomed living space in just minutes.

    Quick Bathroom Refresh

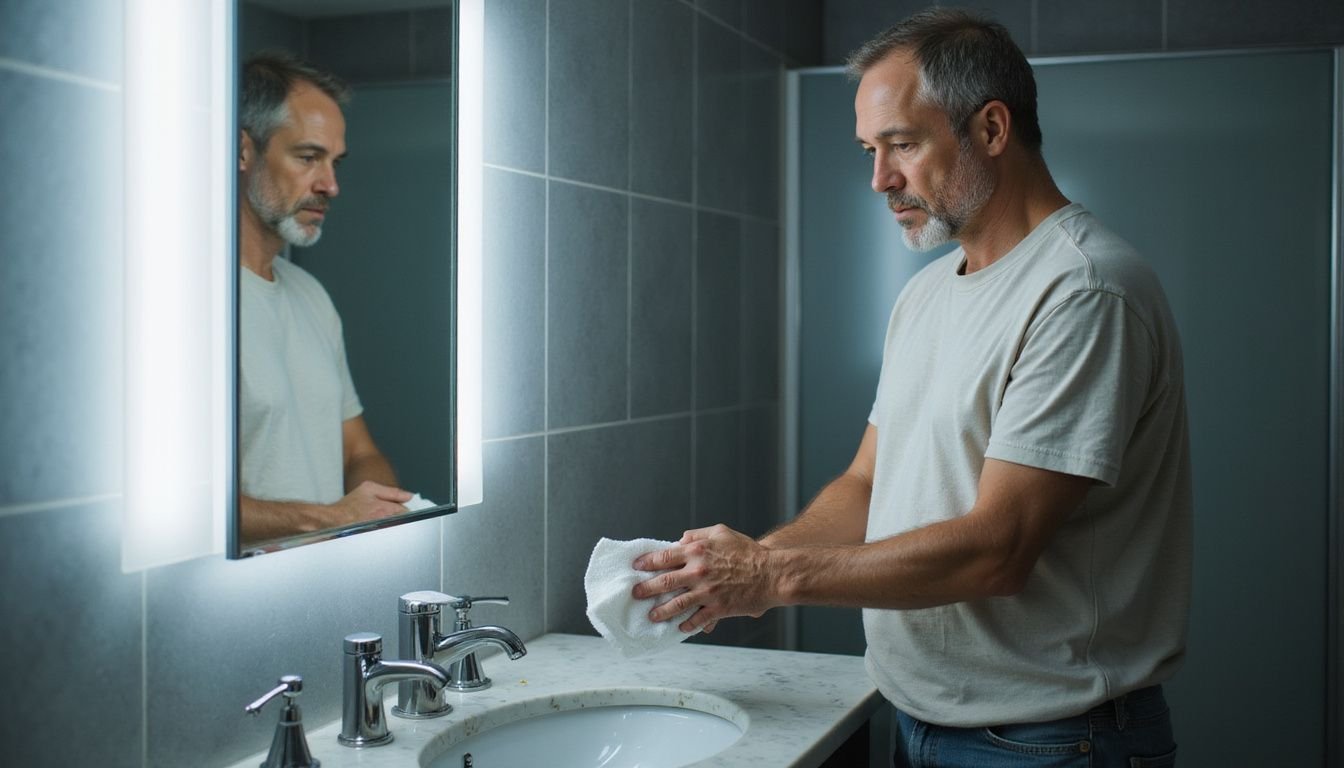
    Refresh the bathroom by wiping down surfaces and mirrors, while also replacing towels and emptying the trash. Implement rapid tidying tips for a clean and tidy bathroom space in minutes.

    Wipe down surfaces and mirrors

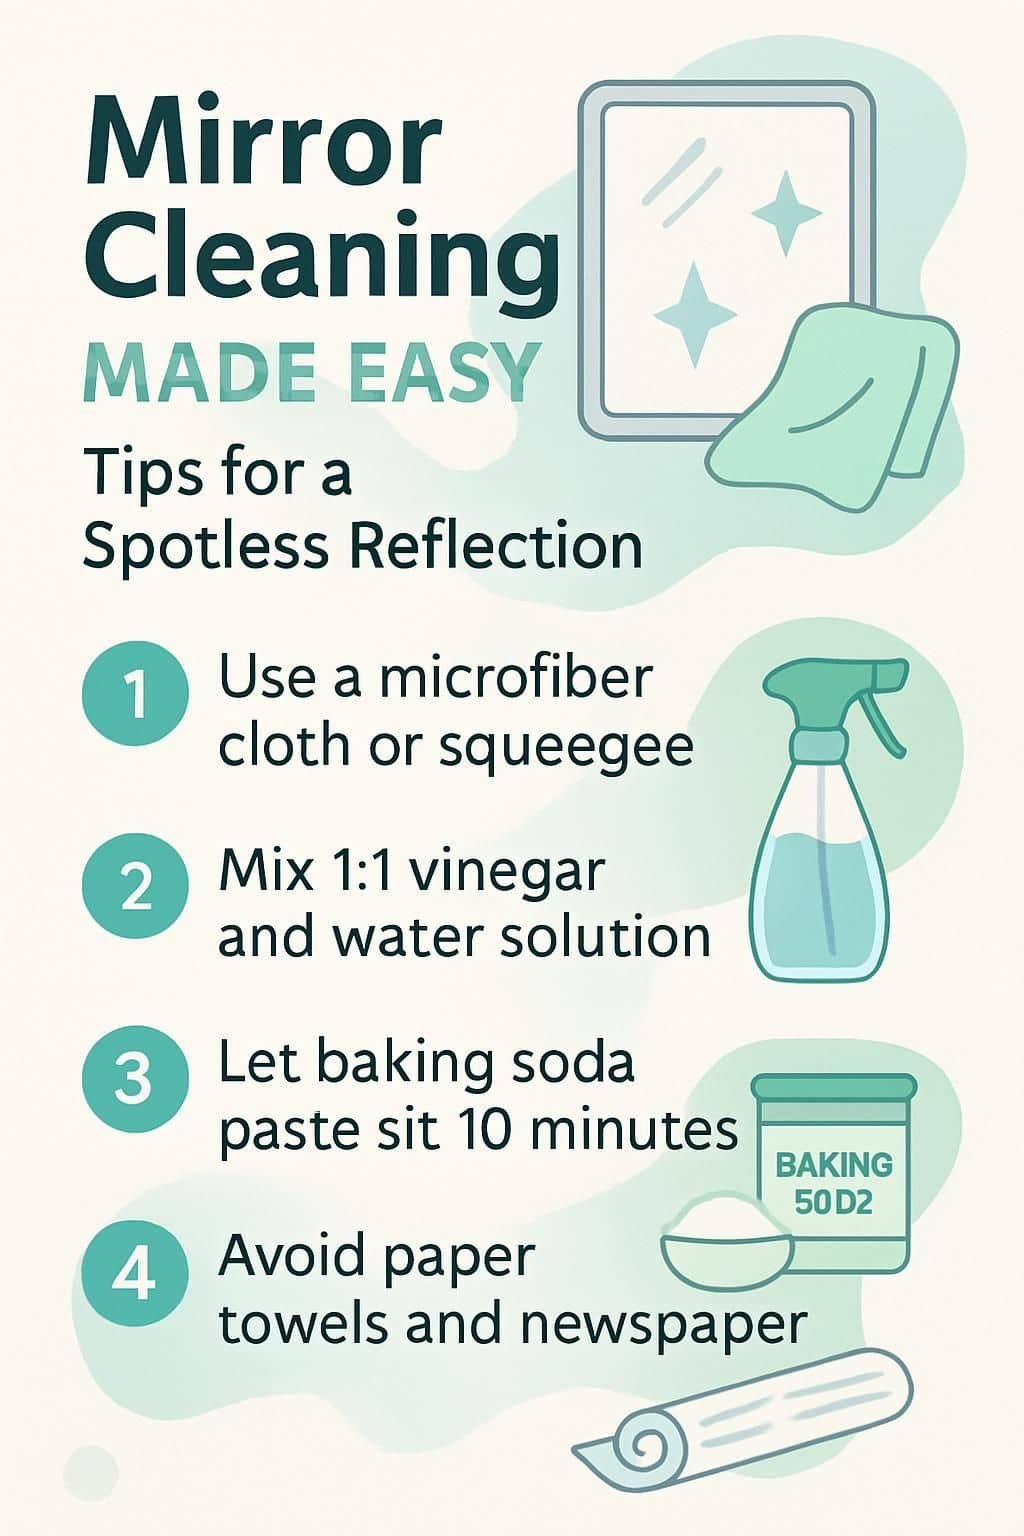
    Wipе surfacеs with a disinfectant spray or damp cloth to rеmovе dust and gеrms. Usе glass clеaner on mirrors for a smudgе-frее, sparkling finish.

    Regular wipings can prevent around 98% of surface germs from spreading in your home. Mirror cleaning every week keeps them free from water spots and streaks, making space appear larger and brighter.

    Replace towels and empty the trash

    After wiping down surfaces and mirrors, it’s essential to replace towels and empty the trash. Fresh towels help maintain cleanliness in the bathroom, while regularly emptying the trash prevents odors and keeps the space tidy.

    These quick tasks contribute to a neat and welcoming bathroom environment.

    Completing these simple yet impactful actions guarantees that your bathroom stays clean and organized. Regularly replacing towels not just maintains hygiene but also adds a fresh touch, while keeping the trash emptied contributes to a clutter-free space.

    Conclusion

    Get ready to tackle your home’s cleaning needs efficiently. With the right supplies and quick strategies, you can swiftly tidy up any room. Speed through the kitchen, living room, and bathroom with these rapid cleaning methods for a neater home in no time.

    Keep these fast housekeeping techniques in mind for effective results every time!

  • Cleaning Your Blinds The Right Way For Best Results

    Cleaning Your Blinds The Right Way For Best Results

    Dirty blinds can make a clean room look messy. Many people don’t know that dirty blinds can collect allergens. This post will show you the right way to clean your blinds for the best results.

    Keep reading to learn how.

    Materials Needed for Cleaning Blinds

    materials needed for cleaning blinds 372361149

    After understanding the basics of cleaning your blinds, you’ll need the right materials to get started. Having these items on hand makes the process efficient and ensures your blinds look their best.

    1. Microfiber cloth – This soft cloth is perfect for dusting and doesn’t leave behind lint.
    2. Vacuum with brush attachment – Helps in removing dust from blinds without scratching them.
    3. Mild dish soap – Works well for deep cleaning without harming blind materials.
    4. Baking soda – A natural cleaner that’s great for removing tough stains, especially on vinyl blinds.
    5. White vinegar – Excellent for cleaning and whitening blinds without using harsh chemicals.
    6. Bucket or large bowl – Needed for mixing cleaning solutions or holding warm water.
    7. Soft-bristled brush or old toothbrush – Useful for scrubbing away dirt and grime from corners and hard-to-reach spots.
    8. Warm water – Essential for diluting soaps and creating cleaning solutions.
    9. Rubber gloves – Protects your hands from dirt and cleaning solutions during deep cleans.
    10. Squeegee – Helps per removing end water after washing, St blinds so and streak-free.
    11. Ladder or step stool (if necessary) – Ensures you can safely reach high-mounted blinds without stretching or straining.

    Gathering these materials before you start speeds up the cleaning process, making it easier to maintain a dust-free environment in your home efficiently.https://www.youtube.com/watch?v=Fme06fh8nuk

    How Often Should You Clean Your Blinds?

    Now that you know the tools needed for blind cleaning, let’s focus on frequency. You should clean your blinds at least once a month to keep them dust-free and looking their best. This regular maintenance prevents dust build-up, making them easier to clean over time.

    Regular cleaning extends the life of your blinds and keeps them looking new.

    In homes with pets or in high-dust areas, consider cleaning your blinds every two weeks. Such places have more airborne particles that can settle on window treatments, requiring more frequent attention.

    How to Dust Blinds Properly

    Knowing how often to clean your blinds sets the stage for the next crucial step: dusting them correctly. Proper dusting keeps your blinds in top shape and ensures your room looks neat.

    1. Close the blinds to make them flat and easier to clean.
    2. Use a microfiber cloth or a duster to gently wipe each slat from top to bottom.
    3. Attach a soft brush attachment to your vacuum and gently go over each slat if there’s heavy dust.
    4. For hard-to-reach areas, use a clean paintbrush or makeup brush to dislodge dust.
    5. Turn the blinds in the opposite direction and repeat the process on the other side more thoroughly one sl time
    6. Finish by wiping down my a slightly damp cloth one catch any remaining dust particles, but ensure it’s not too wet for wooden or fabric blinds.
      water can damage them.
    7. Once every few weeks, use an antistatic spray after cleaning to reduce future dust accumulation on your blinds.

    Deep Cleaning Methods for Blinds

    To deep clean blinds, start by dusting them thoroughly with a microfiber cloth or duster to remove loose dirt and debris. Then, use a mild solution of water and dish soap to gently scrub the blinds, wiping them down with a clean cloth as you go.

    Cleaning Vinyl and Metal Blinds

    Vinyl and metal blinds are simple to maintain and clean. Here’s how to effectively clean them:

    1. Prepare a mixture of warm water and mild detergent in a bucket.
    2. Immerse a microfiber cloth or sponge into the mixture and squeeze out excess liquid.
    3. Wipe down each slat of the blinds, starting from the top and working towards the bottom, ensuring thorough coverage.
    4. For tough stains or built-up grime, use a soft-bristled brush to gently scrub the affected areas.
    5. Rinse the cloth or sponge in clean water as needed to avoid spreading dirt around.
    6. Once complete, use a dry microfiber cloth to wipe away any remaining moisture and leave the blinds to air dry completely.

    Maintain the fresh look of your vinyl and metal blinds with regular cleaning using these simple steps.

    Cleaning Wooden Blinds

    Wooden blinds can add a touch of elegance to any room. They require regular cleaning to maintain their beauty and prolong their lifespan. Here are the steps to effectively clean wooden blinds:

    1. Begin by closing the blinds completely to ensure you can clean both sides.
    2. Dust the blinds using a microfiber cloth or a duster, starting from the top and working your way down.
    3. For deeper cleaning, mix mild dish soap with water and use a sponge to gently wipe each slat.
    4. To remove excess water, dry the blinds immediately with a clean, dry cloth.
    5. For stubborn stains, consider using specialized wood cleaners designed for blinds.
    6. Avoid over-wetting the wood as it can cause warping or damage.
    7. Lastly, perform this cleaning routine every few months for optimal maintenance of your wooden blinds.

    Next topic: “Cleaning Fabric Blinds

    Cleaning Fabric Blinds

    To effectively clean fabric blinds, follow these steps:

    1. Dusting: Start by using a microfiber cloth or a duster to gently remove dust from the surface of the fabric blinds.
    2. Vacuuming: Use a brush attachment on your vacuum cleaner to further remove dust and debris from the fabric blinds. Ensure to go over the entire surface area.
    3. Spot Cleaning: For any stubborn stains, use a mild detergent mixed with warm water and apply it to the affected areas using a soft cloth. Gently dab at the stains until they lift.
    4. Drying: Once spot cleaning is done, let the fabric blinds air dry thoroughly before raising them back up.
    5. Maintenance: Regularly dust and vacuum your fabric blinds to prevent dirt build-up and maintain their cleanliness.

    With these simple steps, you can keep your fabric blinds looking fresh and clean in no time.

    How to Whiten Yellowed Blinds

    • Mix equal parts white vinegar and warm water in a bowl.
    • Dampen a microfiber cloth in the solution.
    • Gently wipe the yellowed areas of the blinds.
    • Let the solution sit for 10-15 minutes to help lift stains.
    • Rinse the cloth thoroughly and wipe down the blinds with clean water.
    • Allow the blinds to air dry completely before lowering them back into place.

    Cleaning Blinds Without Taking Them Down

    1. Use a vacuum cleaner with a brush attachment to gently remove dust and debris from the blinds.
    2. Alternatively, use a microfiber cloth or duster to wipe down each slat individually, starting from the top and working your way down.
    3. For more stubborn dirt or grease, create a solution of warm water and mild dish soap, dampen the cloth, and carefully clean each slat.
    4. Another effective method is using a fabric softener sheet to eliminate static and repel dust from the blinds’ surface.
    5. Consider using a handheld steam cleaner for deep cleaning without disassembling the blinds, ensuring careful application to prevent damage.
    6. To maintain cleanliness between deep cleans, apply an antistatic spray on the blinds to reduce dust buildup.

    Types of Cleaners to Avoid

    1. Ammonia-based cleaners: These can cause discoloration and deterioration, especially on fabric blinds like polyester or cotton.
    2. Bleach: Using bleach can weaken the fibers of fabric blinds and cause colors to fade over time.
    3. Abrasive cleaners: Avoid using abrasive cleaners as they can scratch and damage the surface of vinyl, metal, or wooden blinds.
    4. Strong chemical solvents: Harsh chemical solvents can break down the material of the blinds, leading to damage and potential health hazards.
    5. Oil-based cleaners: Oil-based cleaners leave a residue that attracts dust and dirt, making it counterproductive for maintaining clean blinds.
    6. All-purpose household cleaners: While convenient, these often contain harsh chemicals that can adversely affect the material of different types of blinds over time.
    7. Furniture polish: Using furniture polish on wooden blinds can leave a sticky residue and compromise the natural finish of the wood.
    8. Harsh disinfectants: Disinfectants with strong chemicals should be avoided as they may cause discoloration or damage to various blind materials.

    That’s all for “Types of Cleaners to Avoid.

    How to Clean Other Window Treatments

    To clean other window treatments, start by removing dust and debris with a handheld vacuum or duster. Then, use a gentle cleaning solution and cloth to wipe down drapes, shades, and roller shades for a fresh and tidy look.

    Cleaning Drapes and Shades

    1. Use a handheld vacuum or brush attachment to remove loose dust and debris from the drapes and shades.
    2. For fabric drapes, check the care label for washing instructions. Hand wash or machine wash, if appropriate, using a mild detergent.
    3. If machine washing is not recommended, take the drapes to a professional cleaner for thorough cleaning.
    4. Wipe down vinyl or metal shades with a damp cloth and mild soap solution, ensuring all dirt and grime are removed.
    5. For wooden shades, dust with a microfiber cloth or use a wood-safe cleaner to maintain their appearance.
    6. Consider using a fabric freshening spray on drapes in between cleanings to keep them smelling pleasant.
    7. Regularly inspect drapes and shades for any signs of wear or damage that may require immediate attention or replacement.
    8. Store drapes and shades properly when not in use to prevent dust accumulation and prolong their lifespan.

    Cleaning Roller Shades

    Roller shades are a popular window treatment due to their sleek appearance and ease of use. Here are some simple steps to clean roller shades effectively:

    1. Begin by dusting the roller shades using a handheld vacuum or a duster to remove any surface dirt and debris.
    2. For spot cleaning, use a mild detergent mixed with water and gently wipe the affected area with a soft cloth.
    3. Avoid using harsh chemicals or abrasive cleaners as they can damage the fabric of the roller shades.
    4. Allow the shades to air dry completely before rolling them back up.
    5. Regular maintenance, such as weekly dusting and spot cleaning as needed, will help keep your roller shades looking fresh and clean.

    By following these easy steps, you can maintain the cleanliness of your roller shades and extend their lifespan without much effort.

    Deep Cleaning Your Home: A Comprehensive Guide

    Dust and grime have a tendency to build up in unexpected places. Regular deep cleaning of your home not only maintains its fresh appearance but also gets rid of hidden allergens, ensuring a healthy living space for you and your family.

    A comprehensive deep cleaning involves paying close attention to detail, including areas that are often overlooked, such as baseboards, behind appliances, inside cabinets, and light fixtures.

    It is important to use appropriate cleaners for all surface types, from wood to tile. Extensive cleaning should be carried out every few months to maintain a comfortable environment.

    In addition to deep cleaning, it’s important to recognize the importance of decluttering and reorganizing spaces throughout your home. Clearing out unwanted items not only makes surfaces easier to clean but also creates an inviting atmosphere.

    Thoroughly tackling these tasks will provide a sense of accomplishment and significantly contribute to maintaining a tidy living space over time. With this detailed approach to deep cleaning at home, you’ll ensure that each room exudes freshness while being free from hidden dirt and debris.

    When to Replace Your Blinds

    Blinds typically have a lifespan of around 7-8 years before they need replacement. It’s important to note that this duration may vary depending on the quality of the blinds and how well they are cared for.

    If you observe discoloration, warping, or difficulties in operation despite proper maintenance, it may be time to think about getting new ones. Additionally, if your blinds have sustained damage from direct sunlight or moisture exposure, it’s advisable to replace them promptly to maintain a clean and fresh look in your home.

    Regularly checking your blinds for signs of wear and tear can help you determine when it’s time for a replacement.

    It’s important to understand that old or damaged blinds not only impact the aesthetics of your space but also affect energy efficiency and privacy levels in your home. Therefore, taking proactive steps to replace worn-out blinds ensures an improved living environment, while also maintaining the functionality of window treatments.

    Conclusion

    After following these pointers, your blinds will look as good as new. You can easily maintain clean and dust-free blinds by regularly dusting and deep cleaning as required. With the right materials and methods, you can efficiently clean your blinds without much trouble.

    Remember to replace your blinds when they show signs of wearing down to keep your home looking fresh and well-maintained.

  • Ultimate Guide To Deep Cleaning After The Holidays

    Ultimate Guide To Deep Cleaning After The Holidays

    After the holidays, homes often look like they hosted a big party because, well, they did. Food crumbs hide under cushions. Sticky spots cling to tables. It feels overwhelming to clean it all up.

    One important fact is that deep cleaning after holidays helps start the new year fresh and tidy.

    This guide offers easy steps for tackling the mess room by room. From scrubbing the kitchen to refreshing the living space, it covers everything. Get ready for tips on making your house sparkle again.

    Keep reading for a cleaner home!

    Key Takeaways

    • Start cleaning by decluttering and organizing, like removing holiday decorations and using storage bins to keep things neat.
    • Clean high-traffic areas by vacuuming carpets and refreshing furniture with fabric cleaner or a steam clean.
    • Disinfect the kitchen and bathroom, focusing on stovetops, ovens, refrigerators, sinks, showers, and toilets for a hygienic home.
    • Replace towels often and clean toothbrush holders to stop bacteria from spreading.
    • Regularly deep cleaning after holidays helps start the new year fresh.

    Declutter and Organize Your Space

    A woman in her thirties declutters her living room after the holidays.

    Want to restore order in your home after the holidays? Start by decluttering and organizing your space. Put away those festive decorations and ensure everything has its proper place for a fresh start.

    Remove holiday decorations

    Neatly labeled holiday decoration storage bins in a clutter-free space.

    Designating storage bins assists in organizing holiday decorations and furthermore, simplifies the decorating process for the following year.

    Sort and store items properly

    Neatly organized holiday decorations and leftover food storage in labeled bins.

    Once all the holiday decorations are down, it’s time to get them sorted and stored. People use labeled seasonal storage bins for this task. This helps keep things organized for next year.

    Artificial Christmas trees go back in their original packaging or an upright storage bag. It keeps the tree safe and makes setting up easier next year.

    Use of storage dividers and tiered shelves can make a big difference. They help maximize space in closets or garage areas. For any leftover holiday food, airtight containers or sealed bags are best.

    This keeps food fresh longer. Outdoor decorations need care too before storing them away. Heavy-duty plastic bags and bubble wrap protect these items from damage.

    While sorting, some find items they no longer need or want. This is a good chance to declutter by donating these unwanted pieces. It clears out space and helps others at the same time.

    Deep Clean High-Traffic Areas

    A person is vacuuming a worn living room carpet.

    When focusing on high-traffic areas, prioritize the carpets and rugs by vacuuming them with great care. Refresh upholstery and furniture in these spaces for a pristine look.

    https://www.youtube.com/watch?v=rhylDLvphCI

    Vacuum carpets and rugs

    A vacuum cleaner sits in a living room with colorful rugs and loose dirt.

    Vacuuming carpets and rugs is a key step in cleaning high-traffic areas. It helps remove dust and dirt that gather over time. House owners should first shake out rugs to get rid of loose dirt.

    Then, they can move on to sweeping hard floors nearby to prevent any scratches from debris.

    It’s important to treat stains on carpets and rugs quickly. This prevents the color from fading or changing. Using carpet deodorizers can also help get rid of bad smells. Before vacuuming, it’s wise to check the vacuum cleaner for better suction power—making sure its filter is clean boosts its efficiency.

    While vacuuming, people should go over the area several times from different directions for a thorough clean.

    Clean and refresh upholstery and furniture

    A person using a steam cleaner on a tidy living room sofa.

    To maintain furniture and upholstery’s fresh appearance, apply fabric cleaner or a mixture of mild detergent and water to address stains. The use of a steam cleaner provides a comprehensive cleanse to eliminate allergens and debris from the fabric.

    Consistent cleaning is crucial to prolong furniture’s lifespan and ensure its hygienic state for the family. Experts recommend the use of natural products like vinegar and baking soda for effective cleaning that also minimizes exposure to harmful chemicals.

    Employing a systematic approach may involve spot cleaning, vacuuming, and then steam cleaning. Furthermore, seeking professional upholstery cleaning services can aid in preserving furniture in good condition over time.

    “Regular upkeep preserves the new look of your furniture while fostering a healthy environment for your family.”

    Disinfect and Refresh the Kitchen

    A person cleaning stovetop and oven while wearing gloves in kitchen.

    Disinfect and refresh the kitchen by thoroughly cleaning the stovetop and oven. Ensure to empty and sanitize the refrigerator for a fresh start after the holidays.

    Clean stovetop and oven

    To keep the kitchen clean and safe, it’s essential to regularly deep clean the stovetop and oven. If there’s a self-cleaning feature, use it; if not, manually degrease for effective maintenance.

    An eco-friendly cleaner like baking soda paste works wonders for deep cleaning the oven. It’s vital to pay special attention to cleaning the sides and tops of the stovetop as well….

    Moving on to “Tackle Bathroom Cleaning”…

    Empty and sanitize the refrigerator

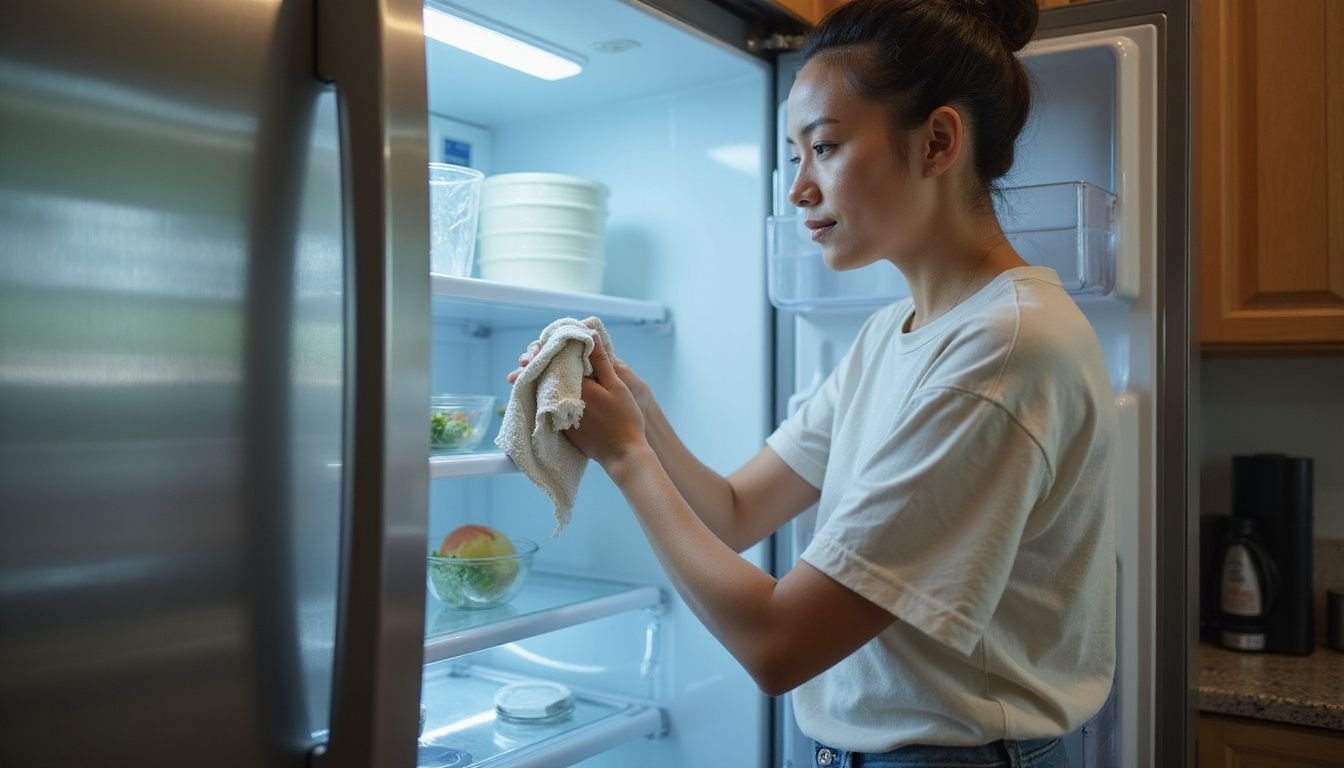
    Empty the refrigerator completely and discard any leftovers. Wipe down the doors, shelves, and clean behind drawers. Hand wash removable compartments with warm, soapy water and ensure they are dry before placing them back in.

    Use an all-purpose cleaning solution or dish soap mixed with warm water to wipe down interior surfaces.

    Consider replacing filters or adding a box of baking soda to control odors.

    Tackle Bathroom Cleaning

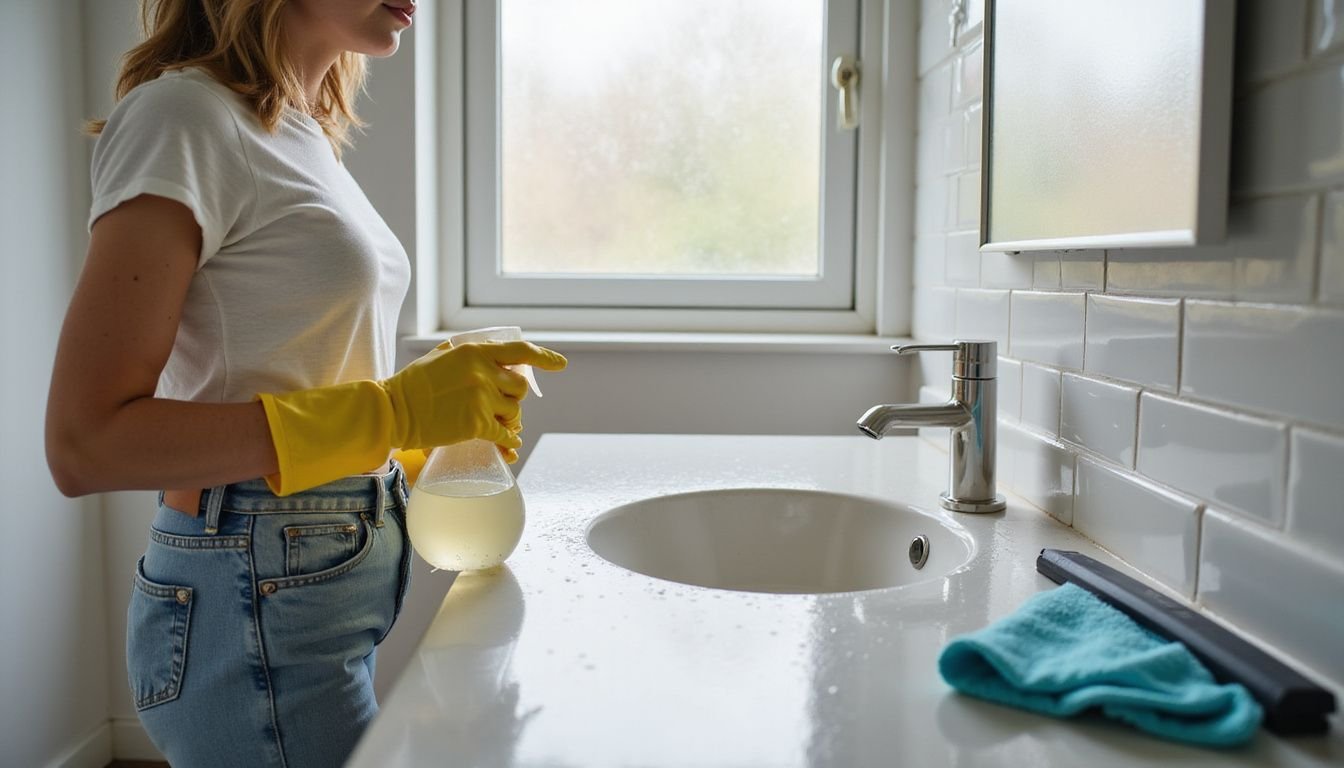
    A woman cleaning a cluttered bathroom sink with various cleaning supplies.

    Scrub the sinks, showers, and toilets thoroughly. Replace towels and disinfect toothbrush holders.

    Scrub sinks, showers, and toilets

    Keep the bathroom clean and hygienic by scrubbing sinks, showers, and toilets regularly. This helps eliminate allergens and bacteria, maintaining a healthy space for the family. Using proper cleaning supplies is important for effective cleaning.

    Regularly descale shower heads to prevent buildup and ensure better water flow. Stock up on fresh towels and soap to maintain a clean environment in the bathrooms.

    Maintaining cleanliness in high-traffic areas like bathrooms is crucial, especially after the holiday season when there might have been more guests using these spaces. Regularly scrubbing bathroom surfaces helps eliminate bacteria and allergens which can build up in these areas due to increased use.

    Replace towels and disinfect toothbrush holders

    In the bathroom, it’s essential to change towels regularly and sanitize toothbrush holders. E. coli and Staphylococcus aureus bacteria were found in most sampled towels and toothbrushes.

    Regular washing of towels can help reduce this risk – 48% of people wash their towels weekly, but 8% only wash them once every three months! Disinfecting toothbrush holders is also crucial, as poor storage practices can impact microbial quality.

    Parents should replace bathroom towels frequently to maintain hygiene. Sanitizing toothbrush holders helps reduce bacterial contamination that could lead to infections. Regular cleaning routines are vital for maintaining good personal care habits and reducing health risks from household items used daily.

    Conclusion

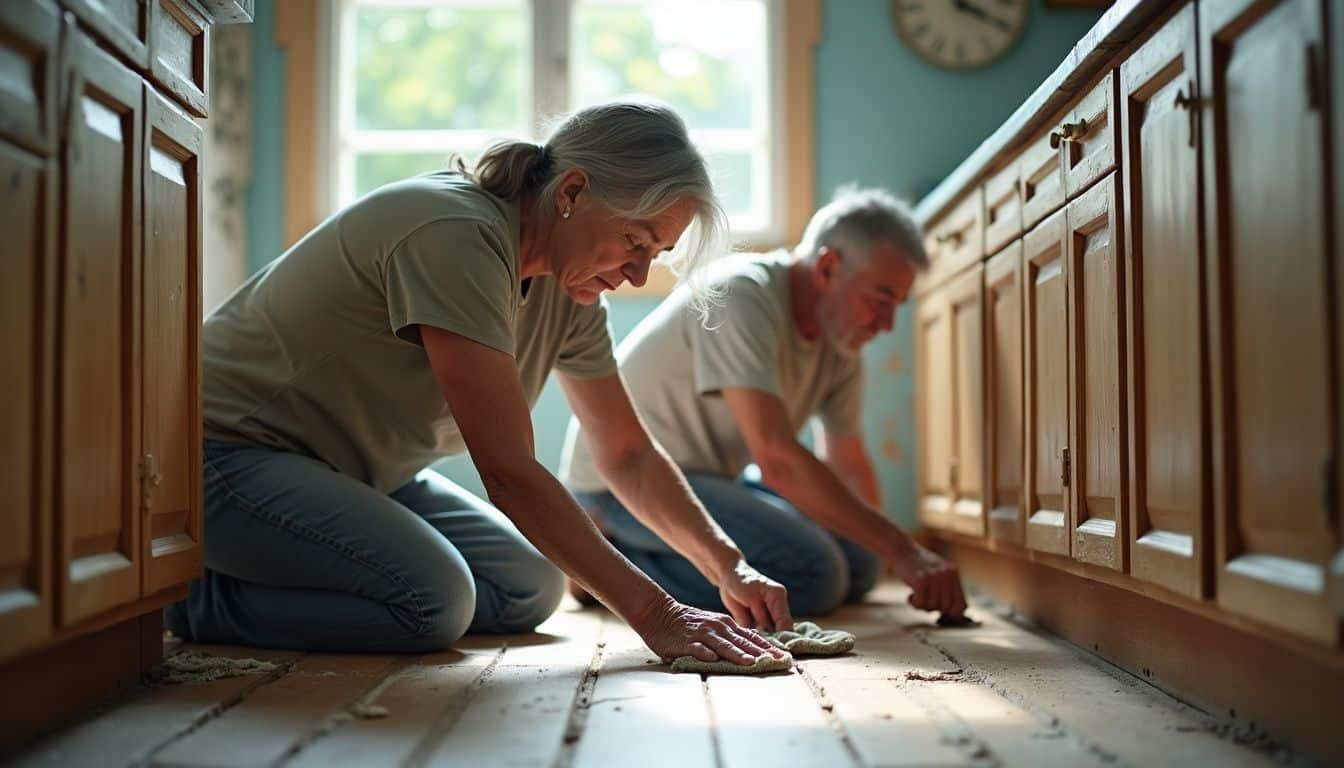
    A woman in her 40s deep cleans kitchen cabinets after holidays.

    After the holidays, it’s crucial to tackle deep cleaning in high-traffic areas. This includes decluttering and organizing spaces, such as removing holiday decorations and sorting items properly.

    Flooring attention involves shaking out rugs, treating carpet or rug stains, and using deodorizers for a refreshed home. Appliances, bathrooms, stains from festivities – all these demand detailed steps for thorough cleaning.

    Furthermore, rubbing alcohol can effectively remove Christmas tree sap from washable clothing and knit gloves. Proper storage of holiday decorations is essential to prevent dust build-up and breakage.

    Post-holiday cleaning ensures restoring order after the hectic season with guests and feasts while preparing for winter maintenance.

    Ultimately, by focusing on decluttering, disinfecting key areas like the kitchen and bathroom, households can achieve a spotless post-holiday cleanup – ensuring a stress-free start to the new year!

    FAQs

    1. Why is deep cleaning important after the holidays?

    Deep cleaning after the holidays clears out dust, dirt, and clutter that can build up during festive gatherings. It refreshes your space and creates a healthier environment for everyone.

    2. What areas should I focus on when deep cleaning?

    Focus on high-traffic areas like kitchens, living rooms, and bathrooms first. Don’t forget to clean under furniture, inside cabinets, and any spots that might have been overlooked during regular tidying.

    3. How do I tackle stubborn stains or messes?

    For tough stains, use specific cleaners designed for those surfaces—like vinegar for glass or baking soda for carpets. Always test in an inconspicuous area first to avoid damage.

    4. Can I make my own cleaning solutions at home?

    Absolutely! Many effective homemade cleaners combine simple ingredients like vinegar, baking soda, and essential oils. They’re often safe and eco-friendly alternatives to store-bought products.

    References

    1. https://www.extraspace.com/blog/home-organization/how-to-declutter-after-the-holidays/ (2024-09-25)
    2. https://www.realsimple.com/home-organizing/organizing/declutter-after-holidays (2024-10-29)
    3. https://blogool.com/article/the-ultimate-guide-to-deep-cleaning-high-traffic-carpets (2024-12-17)
    4. https://samyxcleaning.com/blog/deep-cleaning-upholstery-furniture/ (2024-03-31)
    5. https://twosistersmaidtoclean.com/home-refresh-after-summer/
    6. https://freshspacecleaning.com/holiday-kitchen-deep-cleaning/
    7. https://vellaclean.com/blog/deep-clean-your-kitchen-ultimate-checklist/ (2024-12-19)
    8. https://cleanmama.com/the-ultimate-guide-to-cleaning-your-refrigerator/
    9. https://joyofcleaning.com/2024/12/02/the-ultimate-guide-to-holiday-cleaning/
    10. https://pmc.ncbi.nlm.nih.gov/articles/PMC8047282/