Many homeowners open their fridge and see sticky spills, old food, and pesky odors. This mess is not just unpleasant; it can also make your kitchen less clean and even affect your family’s health.
Cleaning fridge shelves or organizing the refrigerator may feel overwhelming, but a few smart steps can change everything.
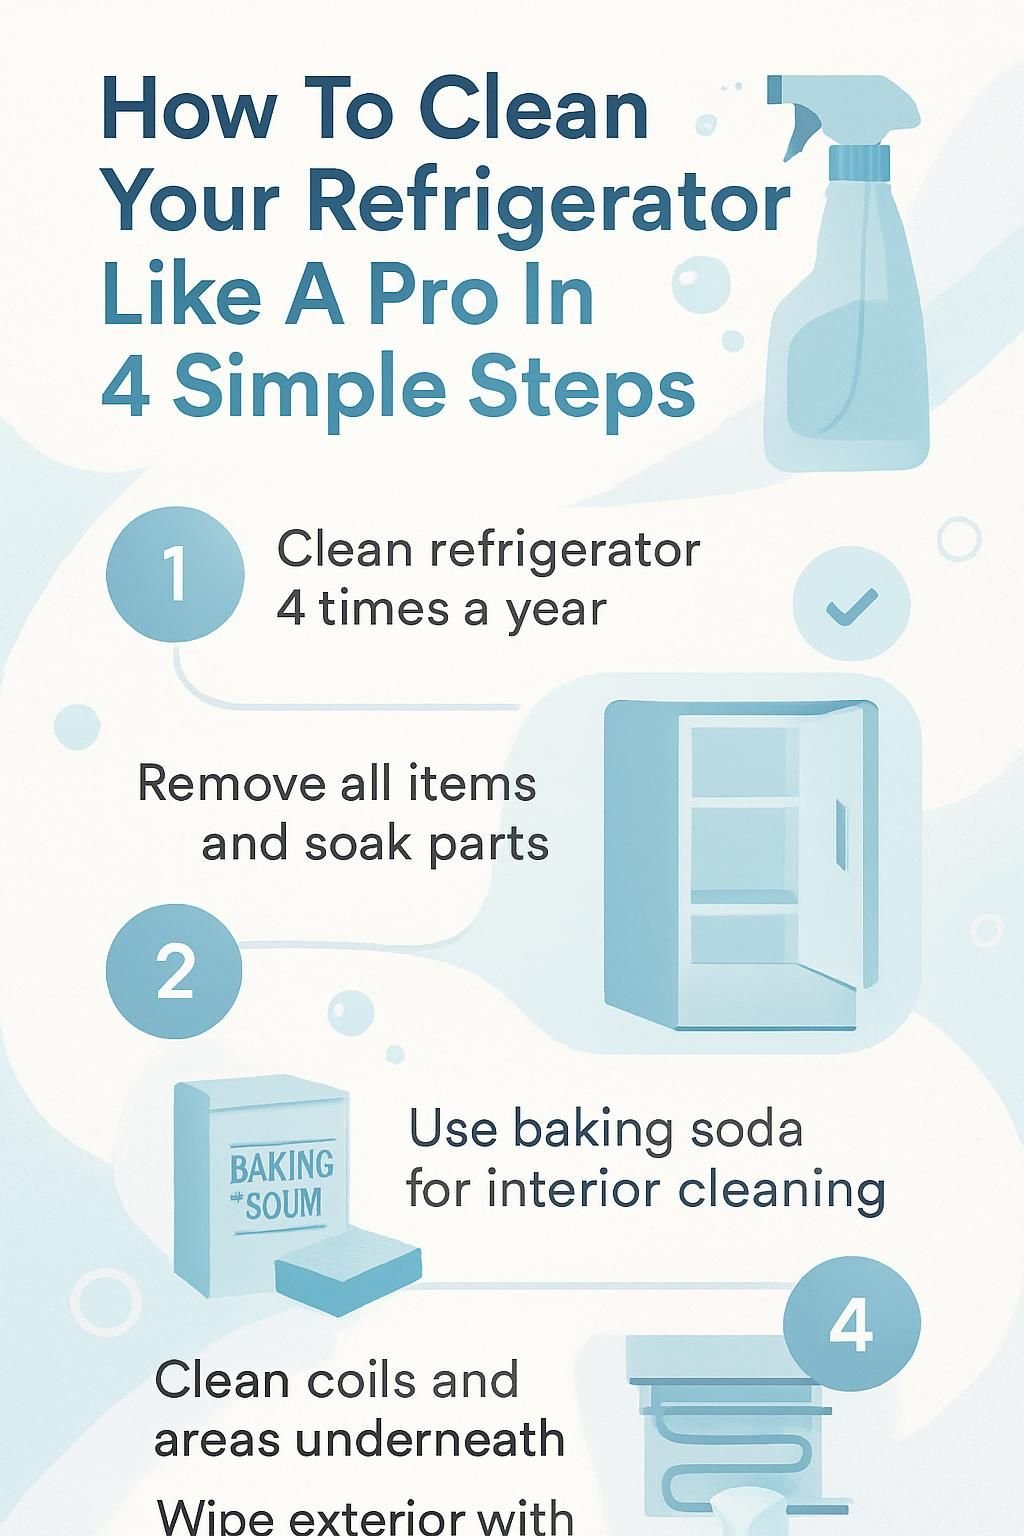
Experts say that deep cleaning appliances like refrigerators at least four times a year helps prevent bacteria growth and keeps food fresh longer. If you want to master how to cleaning your refrigeration like a pro in 4 simple steps, this guide will break down each part so anyone can do it with confidence.
Discover easy tricks for tackling stains, removing bad smells, and keeping everything spotless inside and out. Master these quick tips for a fresher kitchen today!

Step 1: Remove All Food, Shelves, and Drawers

House owners and parents often overlook the importance of thoroughly cleaning their refrigerators. Starting with removing all food, shelves, and drawers can make the process more efficient.
- Turn off the refrigerator to ensure safety before beginning any cleaning process.
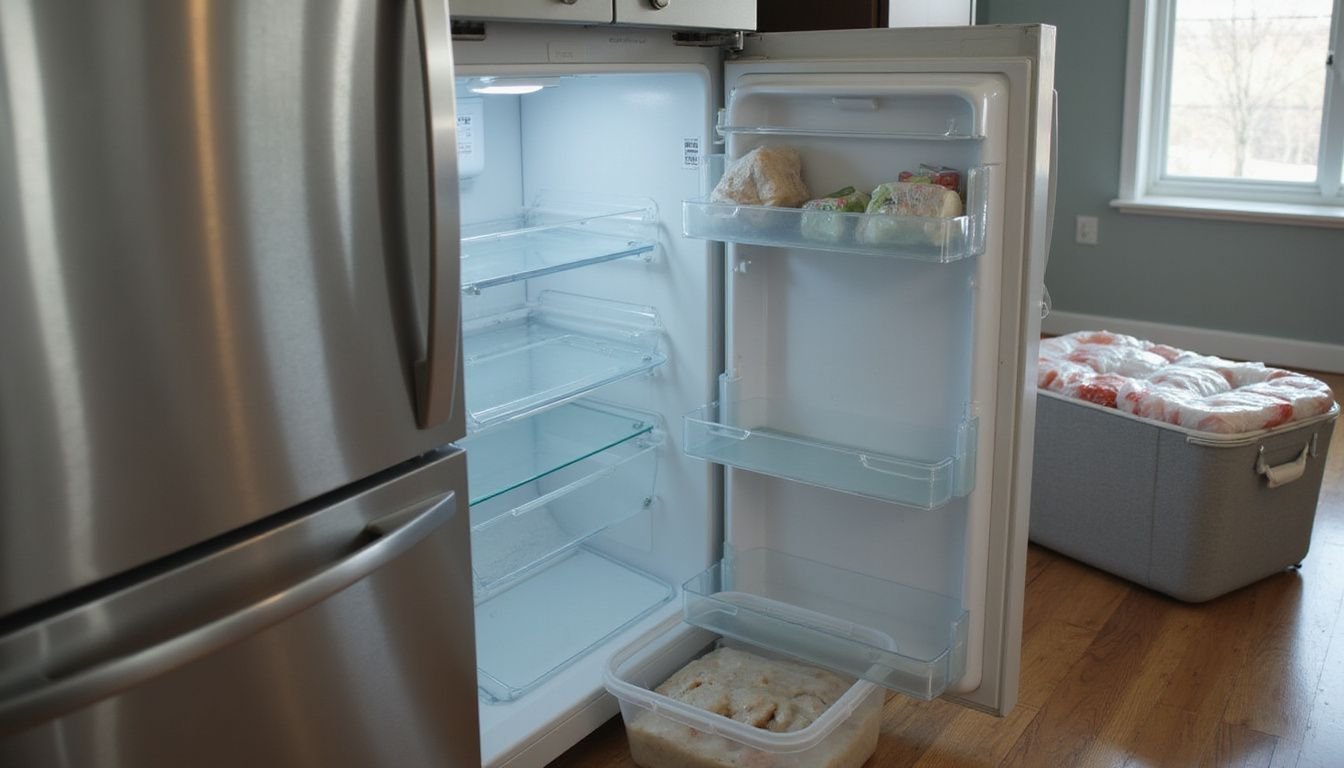
- Empty the fridge of all food items, sorting them into perishables and non-perishables.
- Check expiration dates on food as you remove them to discard anything that is no longer safe to eat.
- Place perishable items in a cooler with ice to keep them fresh during the cleaning process.
- Carefully remove all shelves, drawers, and any removable parts from the refrigerator.
- Soak removable parts like shelves and drawers in warm, soapy water to loosen grime and food particles.
- Use a soft cloth or sponge to wipe down these parts after soaking, focusing on removing stubborn stains.
- Rinse shelves and drawers thoroughly with clean water before setting them aside to dry.
- Ensure all removed food is either disposed of or stored properly while cleaning continues.
This methodical approach simplifies deep cleaning by providing unobstructed access to the interior surfaces of the refrigerator for a thorough cleanse.https://www.youtube.com/watch?v=WaWkeBCazD4
Step 2: Deep Clean the Interior of the Refrigerator
After clearing the refrigerator entirely, it’s time for extensive cleaning of the inside. This process guarantees your fridge maintains cleanliness and sustains food safety.
- Ensure safety first by disconnecting the refrigerator before you start the cleaning.
- Prepare an effective and natural cleaner by mixing warm water and baking soda, using approximately one tablespoon of baking soda per quart of water.
- Soak a gentle cloth or sponge in the baking soda mixture to cleanse all the inner surfaces of the fridge. Be mindful of corners and hidden areas where food particles and liquids may gather.
- Directly apply the baking soda mixture to resistant stains and let it soak for a few minutes before wiping it clean. This approach effectively removes fridge stains without utilizing harsh chemicals.
- Use mild soap and water to clean the gasket surrounding the door, then thoroughly dry it to stop mildew formation.
- Use a clean, damp cloth to rinse all surfaces eliminating any remaining cleaning mixture.
- Dry all the sections with a clean towel or leave them to air-dry with the door left open for a short period before reconnecting the refrigerator.
This detailed interior cleaning eliminates smells, avoids mold formation, and keeps your refrigerator in prime condition, ensuring safe storage for family meals.https://www.youtube.com/watch?v=-RDvKNjJ0yg
Step 3: Clean Underneath and Behind the Refrigerator
The efficiency and freshness of your refrigerator can be greatly enhanced by cleaning the unseen dust and debris underneath and behind it, which may affect its operation.
- The first step in any cleaning process is to disconnect the refrigerator to maintain safety.
- For a comprehensive cleaning, it’s important to move the refrigerator away from the wall, even if it requires a bit of effort.
- Utilize a coil brush or a vacuum cleaner component to clean the condenser coils from dust. Remember, dust buildup makes the refrigerator function harder, thereby raising power usage.
- The floor area under the fridge can collect dirt and food remnants, so it’s critical to clean it with mild soap and warm water.
- Use a moist cloth to clean the walls behind the fridge, eradicating any accumulated splashes or stains.
- Don’t forget to inspect and clean any drip trays or water pipes near or underneath your refrigerator, as neglecting these areas can foster bacterial growth.
- When done, position your refrigerator back in its spot cautiously, preventing any harm to the floor or the unit.
- Only after all surfaces are dry and everything is back in place should you reconnect the power, preventing potential electrical mishaps due to dampness.
By following these steps, you can extend your refrigerator’s longevity and preserve its energy efficiency, ensuring its steady operation.https://www.youtube.com/watch?v=3eiYfVrXu8o&pp=0gcJCdgAo7VqN5tD
Step 4: Wipe Down the Exterior Surfaces
After thoroughly cleaning the interior and hard-to-reach areas of the refrigerator, it’s time to focus on wiping down the exterior surfaces. This step is essential for maintaining a clean and hygienic fridge, especially in households with children or pets. Here are the crucial steps to wipe down the exterior surfaces of your refrigerator:
- Begin by combining a solution of mild dish soap and warm water in a bowl. Utilize a soft sponge or microfiber cloth to gently scrub the exterior surfaces, including the door, sides, and top.
- Pay special attention to handles and any control panels, as these areas tend to accumulate fingerprints and spills. Carefully wipe them down to ensure all grime is removed.
- For stainless steel exteriors, consider using a specialized stainless steel cleaner to achieve a streak-free shine without causing damage or discoloration.
- After wiping down all surfaces, use a clean, dry microfiber cloth to polish the exterior of the refrigerator, eliminating any remaining moisture or residue for a polished finish.
Regular maintenance will not only keep your refrigerator looking pristine but also extend its lifespan while ensuring food safety and hygiene for your household.
- Once the exterior is spotless, take an additional moment to organize any magnets or decorations on the fridge after cleaning for an overall tidy appearance.
Conclusion
In conclusion, cleaning your refrigerator like a pro in four simple steps is attainable for any house owner or parent. By following the outlined steps, one can maintain a clean and organized fridge with ease.
Thoroughly cleaning the interior, wiping down the exterior surfaces, and addressing tough stains are essential tasks to ensure proper hygiene in the kitchen. These practical tips provide actionable guidance for individuals seeking efficient fridge maintenance methods.
Ultimately, maintaining a clean and sanitized refrigerator contributes to overall kitchen hygiene and ensures a healthy living environment for the whole family.
FAQs
1. What are the four simple steps to clean refrigeration like a pro?
The four steps include emptying the fridge, cleaning surfaces with appropriate cleaners, organizing items back in efficiently, and checking for expired food.
2. Why is it important to clean your refrigerator regularly?
Regular cleaning prevents odors, keeps food fresh longer, and helps maintain energy efficiency by ensuring proper airflow within the appliance.
3. What tools do I need for effective refrigeration cleaning?
You will need mild soap or a specialized cleaner, cloths or sponges for scrubbing, baking soda for deodorizing, and warm water for rinsing surfaces.
4. How often should I clean my refrigerator?
Aim to clean your refrigerator every three months at minimum; however, if spills occur or you notice bad smells sooner than that, address them immediately.


